Bake the Perfect King Arthur Bread at Home
The smell of fresh bread is comforting. It reminds me of my grandmother’s kitchen. There, bread was a symbol of love.
Learning to make perfect king arthur bread was a journey. It turned my kitchen into a warm, traditional place.
Baking bread at home might seem hard, but it’s doable. King Arthur Flour helps you make loaves that impress. Beginners have an 80% success rate with their recipes.
This guide will help you make delicious bread. You’ll learn about flour and kneading. You’ll make loaves that feed 12 to 16 people, perfect for sharing.
Soon, your kitchen will be like an artisan bakery. With patience and practice, you’ll make bread that warms your home with amazing flavors.
Table of Contents
Understanding the Basics of King Arthur Bread
Exploring the world of artisan bread recipes means learning the basics. King Arthur bread is a top example of baking skill. It combines precise methods with top-notch ingredients.
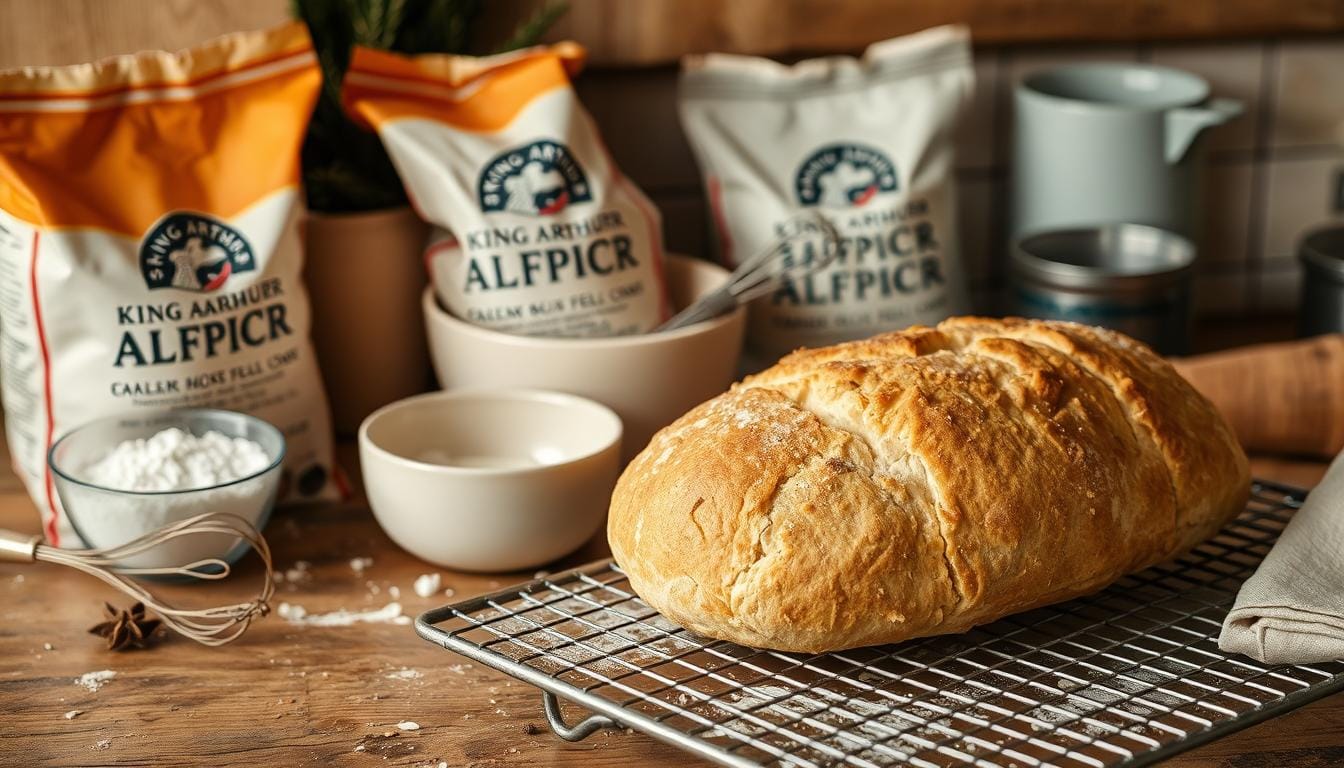
What Makes King Arthur Flour Special
King Arthur Unbleached All-Purpose Flour has 11.7% protein. This high protein level is perfect for gluten development. Gluten gives bread its shape and texture. This flour is key for making easy bread recipes.
Essential Ingredients for Perfect Bread
- King Arthur Unbleached Bread Flour (4 1/2 to 5 cups)
- Instant yeast (2 1/4 teaspoons)
- Granulated sugar (1 tablespoon)
- Table salt (2 1/2 teaspoons)
- Lukewarm water (1 2/3 cups, 90°F to 110°F)
The Science Behind Great Bread
Baking bread is a mix of chemistry and skill. Flour’s protein makes gluten, and yeast adds air pockets. Temperature, hydration, and technique are crucial for making great bread.
“Bread is the king of the table and all else is merely an accompaniment.” – Alexander Dumas
| Ingredient | Quantity | Purpose |
|---|---|---|
| Flour | 540g-600g | Provides structure |
| Yeast | 11g | Creates rise and flavor |
| Water | 379g | Hydrates flour |
| Salt | 15g | Enhances flavor |
Learning these basics will help you make amazing homemade bread. Your creations will be as good as those from professional bakeries.
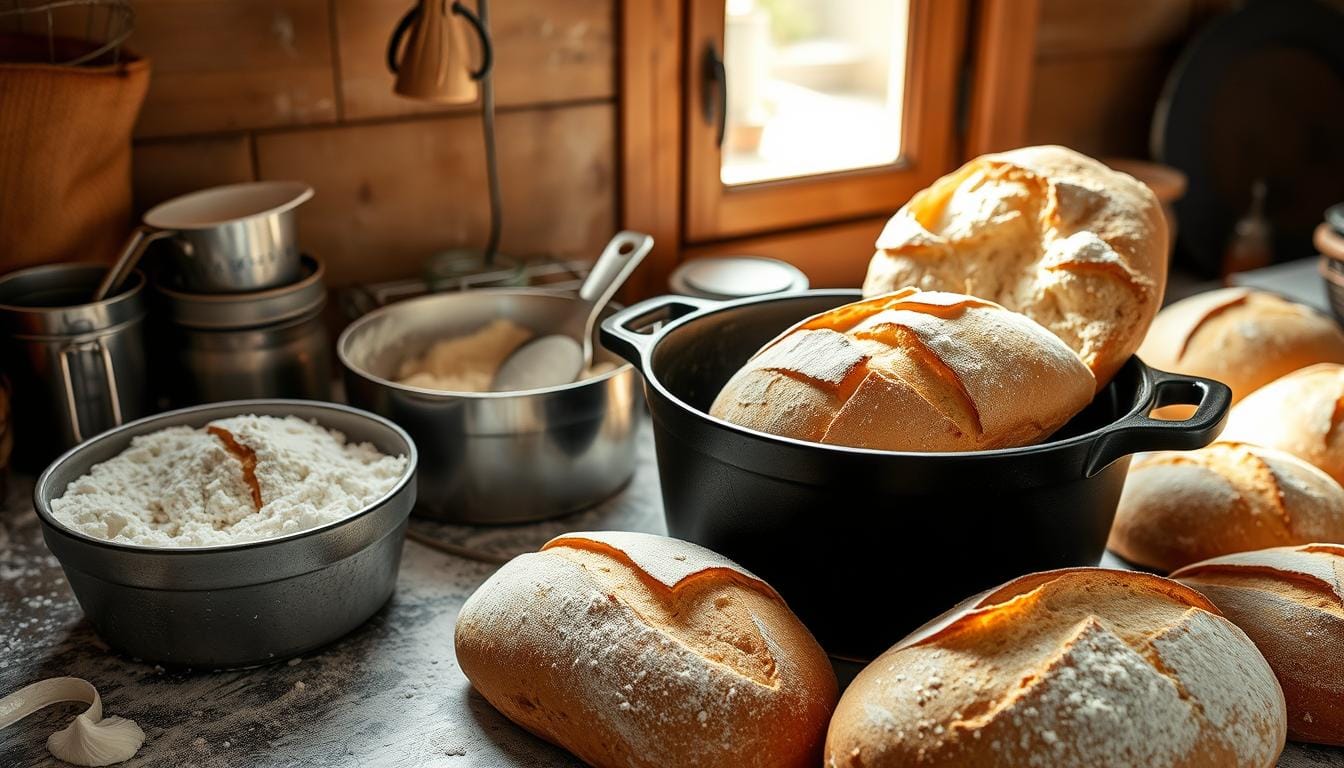
Required Tools and Equipment for Bread Baking
Starting a traditional bread recipe needs more than just ingredients. The right tools can make your bread baking stand out. King Arthur has worked for two years to create a range of baking tools. They aim to make your bread-making journey smooth and fun.
- Large mixing bowl with sturdy construction
- Precise measuring cups and spoons
- Danish dough whisk (approximately $8)
- Kitchen scale (accurate to the gram)
- Dutch oven or baking stone
When picking equipment, look for these key features:
| Tool | Key Characteristics | Price Range |
|---|---|---|
| Measuring Cups | BPA-free, embossed measurements | $15-$30 |
| Oven Thermometer | Ensures accurate temperature | $10-$20 |
| Bread Knife | Precise slicing | $20-$200 |
Pro tip: Choose quality tools for your bread baking journey. A good kitchen scale and precise measuring tools can greatly improve your bread’s taste and texture.
The right tools are like trusted companions in your bread baking adventure – they make the journey smoother and more enjoyable.
While professional equipment can help, passion and practice are key. They are the most important ingredients in making delicious homemade bread.
King Arthur Bread Recipe: Step-by-Step Instructions
Making a classic bread recipe with King Arthur flour needs care and love. Your journey to making perfect homemade bread begins here. You’ll learn techniques that turn simple ingredients into a tasty loaf.
Measuring Ingredients with Precision
Getting your measurements right is key for your King Arthur flour recipe. Here are some tips to help you succeed:
- Measure flour using the fluff and sprinkle method
- Use a digital kitchen scale for ultimate accuracy
- Always level dry ingredients with a straight edge
Mixing Techniques for Perfect Dough
Mixing is more than just putting ingredients together. Follow these steps:
- Combine lukewarm water (82°F-86°F) with instant yeast
- Gradually add King Arthur flour
- Mix until ingredients form a shaggy dough
“Great bread begins with understanding your ingredients and respecting the process.” – King Arthur Baking Experts
Mastering Kneading and Rising
Kneading makes the dough elastic, giving it the right texture. Spend 8-10 minutes kneading by hand or use a stand mixer. Let your dough rise in a warm place, usually 1-2 hours, until it’s 40-50% bigger.
Pro tip: The best proofing temperature is between 75°F and 85°F for yeast to work best.
The Art of Dough Fermentation and Rising

Learning to ferment dough is key to making great homemade bread. This process turns simple ingredients into a flavorful artisan bread. It’s all thanks to the magic of bacteria and wild yeasts.
“Fermentation is the soul of bread-making, turning basic ingredients into a symphony of flavor.” – Bread Artisan
Knowing the science of fermentation helps you make bread with amazing depth and texture. During this stage, several important things happen:
- Wild yeasts make carbon dioxide, making the bread light and airy
- Bacteria create organic acids that add unique flavors
- Enzymes break down starches
The dough’s journey has two main parts:
- Bulk Fermentation: The first rise where flavors start to form
- Proofing: The second rise that makes the dough stronger
Temperature is very important in fermentation. Warmer places make the process faster. Cooler places slow it down, letting flavors grow more.
| Temperature Range | Fermentation Characteristics |
|---|---|
| 68°F – 72°F | Ideal slow fermentation for complex flavors |
| 75°F – 80°F | Faster rise with more aggressive yeast activity |
Making great homemade bread takes patience and understanding these complex processes. By embracing fermentation, you can turn simple ingredients into amazing bread.
Mastering the Perfect Bread Texture
Making an amazing easy bread recipe is more than just mixing and baking. The texture of your bread makes all the difference. It turns a simple traditional bread recipe into a true culinary delight.
To get the right bread texture, you need to focus on three key areas: crust, crumb, and temperature control.
Creating the Perfect Crust
For a crispy, golden-brown crust, you need the right baking techniques. Experts suggest:
- Bake at high temperatures (450°F)
- Add steam at the start
- Use a preheated baking stone
Achieving Soft, Airy Crumb
The inside of your bread should be soft and light. To achieve this, try these tips:
- Make sure the dough is well-hydrated
- Knead gently
- Let it rise for enough time
Temperature Control Tips
| Stage | Recommended Temperature | Purpose |
|---|---|---|
| Initial Fermentation | 75-80°F | Activate yeast |
| Proofing | 80-85°F | Develop flavor |
| Baking | 350-450°F | Create perfect texture |
“Bread baking is an art where temperature and technique dance together to create perfection.” – Artisan Baker
By following these tips, you can turn your home baking into a professional-level craft. You’ll make bread with amazing texture every time.
Advanced Baking Techniques for Artisan Results
To make your king arthur bread recipe stand out, you need to learn advanced baking techniques. Professional bakers use special methods to turn simple bread into a feast for the senses.

The autolyse technique is a big deal for bread lovers. It lets flour and water rest before adding other ingredients. This makes the bread’s gluten stronger and its flavor more complex.
Key Advanced Techniques
- Autolyse method: Rest flour and water for 15-30 minutes
- Stretch and fold technique for gluten development
- Cold fermentation for deeper flavor profiles
Using the stretch and fold method makes dough much more elastic. It’s a better way to knead, making the dough stronger with less effort.
| Technique | Duration | Benefits |
|---|---|---|
| Autolyse | 15-30 minutes | Enhanced gluten structure |
| Cold Fermentation | 12-48 hours | Complex flavor development |
| Stretch and Fold | 3-4 rounds | Improved dough strength |
“Patience transforms good bread into great bread.” – Artisan Baker’s Wisdom
Cold fermentation adds amazing depth to your bread. It lets the dough slowly develop in the fridge, bringing out flavors you can’t get with quick methods.
Keep practicing these techniques to get better at making artisan bread. Each method needs patience and trial and error. But the end result is truly amazing homemade bread.
Troubleshooting Common Bread Baking Issues
Bread baking can be tough, even for pros. Knowing how to fix common problems in your bread recipe is key to perfect loaves.
Fixing Dense or Heavy Bread
Dense bread comes from a few main issues. Here’s how to fix them:
- Make sure yeast is fresh and active (water should be between 105°F and 115°F)
- Knead dough well to build gluten structure
- Let dough rise in a warm spot (75°F to 85°F)
- Check that dough doubles in size during the first rise
Addressing Crust Problems
Getting the crust right needs careful attention in your bread recipe:
| Crust Issue | Solution |
|---|---|
| Pale Crust | Preheat oven to 375°F, use steam method |
| Tough Crust | Reduce baking time, use moisture-rich environment |
| Uneven Browning | Use baking stone, rotate bread during baking |
Managing Dough Temperature
Temperature is key in bread baking. Keep dough temperature between 75°F and 80°F for best fermentation. Here are some tips:
- Use an instant-read thermometer to check dough temperature
- Adjust water temperature based on room conditions
- Cover dough with moisture-proof wrap to prevent drying
- Find a consistent, warm rising location
“Bread baking is an art that improves with practice and patience.” – King Arthur Baking Experts
Every bread baking challenge is a chance to get better. With these tips, you’ll soon be making beautiful, tasty loaves.
Storage and Preservation Methods
Keeping your homemade bread fresh is key to enjoying its taste and texture. After spending time on a perfect king arthur flour recipe, storing it right is crucial. This ensures you can savor your bread at its peak.
Different breads need different storage methods. Fresh artisan loaves stay best for 2-3 days when stored properly at room temperature.
Bread Storage Strategies
- Use breathable bread bags or paper containers
- Avoid plastic bags that trap moisture
- Keep bread away from direct sunlight
- Store at room temperature for short-term preservation
Long-Term Preservation Techniques
Freezing is a great way to keep your bread fresh longer. Wrap your homemade bread tightly in plastic wrap or aluminum foil before freezing. This prevents freezer burn.
| Storage Method | Duration | Best For |
|---|---|---|
| Room Temperature | 2-3 days | Crusty artisan loaves |
| Refrigerator | 5-7 days | Soft sandwich breads |
| Freezer | Up to 3 months | All bread types |
Pro tip: Always slice bread before freezing to make thawing easier and prevent waste.
To revive stale bread, warm it in the oven at 300°F for 5-10 minutes. This trick from king arthur flour can bring back some of the bread’s original texture and warmth.
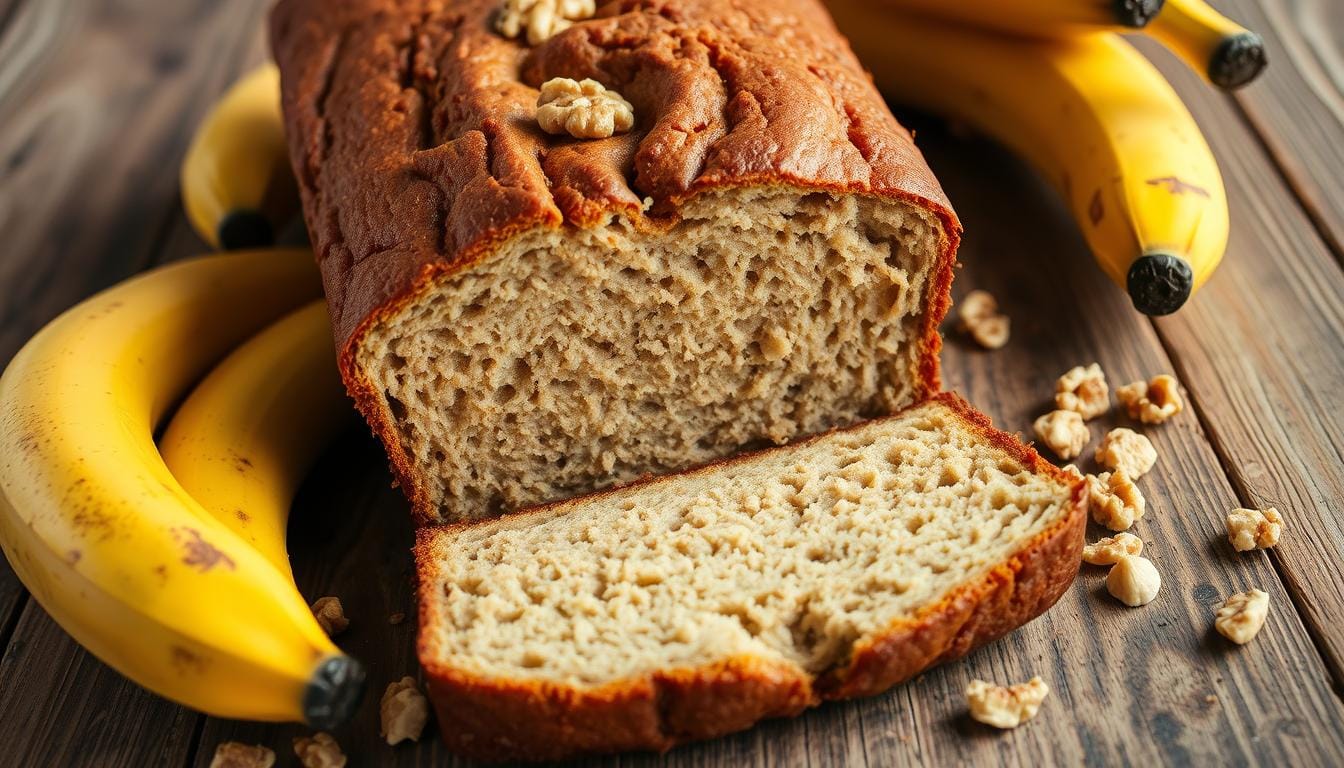
Variations and Creative Adaptations
Once you’ve got the hang of the basic king arthur bread recipe, it’s time to get creative. You can turn a simple bread recipe into a fun adventure in the kitchen. It’s a great way to impress your loved ones and satisfy your taste buds.
Whole Wheat Exploration
King Arthur flour has a range of whole wheat options. These can make your bread healthier and tastier. Try mixing some whole wheat flour with all-purpose flour for a richer flavor and more nutrients.
- Start with a 50/50 mix of all-purpose and whole wheat flour
- Adjust liquid quantities to maintain desired dough consistency
- Experiment with different whole wheat varieties
Creative Ingredient Additions
Make your king arthur bread recipe stand out by adding exciting mix-ins. These can change the texture and taste of your bread. It’s like painting with flour!
| Ingredient Category | Suggested Add-Ins |
|---|---|
| Nuts | Walnuts, pecans, almonds |
| Seeds | Sunflower, pumpkin, sesame |
| Dried Fruits | Cranberries, raisins, apricots |
Seasonal Bread Variations
Use fresh, local ingredients to make your bread recipes seasonal. Try adding herbs in summer or spices in winter. It keeps your baking fresh and exciting.
“Bread is the king of the table and all else is merely an accompaniment.” – Auguste Escoffier
Remember, the secret to great bread variations is to keep trying and be patient. Every new recipe is a chance to improve your skills and make something truly special.
Conclusion
Learning to make traditional bread takes patience, practice, and passion. This guide has shown you how to make tasty homemade bread. It’s a mix of precise techniques and your own creativity.
Bread making is more than just following steps. It’s about knowing the science behind making bread. You’ve learned about things like hydration and how to shape dough. These skills will help you make amazing bread.
King Arthur flour is a great place to start your bread baking journey. Whether you want a sourdough or a sandwich loaf, you’re set. Keep trying new things, stay curious, and feel free to change recipes to fit your taste.
Your journey in bread baking is all about exploring flavors and techniques. Enjoy the process, learn from each try, and celebrate your growing skills. Your hard work will pay off in delicious bread.
FAQ
What makes King Arthur Flour different from other brands?
King Arthur Flour stands out for its high protein content and quality. It’s unbleached and unbromated, which means better flavor and performance in your bread. The company’s focus on quality and precise milling leads to more reliable baking results.
How important is measuring ingredients accurately for bread baking?
Accurate measurements are key in bread baking. Even small mistakes can change your bread’s texture and quality. Professional bakers suggest using a kitchen scale for flour to get consistent results every time.
Can I substitute different types of flour in the King Arthur bread recipe?
You can try different flours, but each will change your bread’s texture and rise. Whole wheat makes a denser loaf, while bread flour helps with gluten development. Start with the recipe and then experiment with substitutions as you gain experience.
How do I know when my dough has risen properly?
Check the dough’s rise with the finger poke test and by looking at its size. If the dough doesn’t spring back when poked, it’s ready. It should also double in size, which takes 1-2 hours depending on the environment.
What’s the best way to store homemade bread?
Store crusty bread at room temperature in a paper bag or bread box for 1-2 days. Avoid plastic bags to keep the crust crisp. For longer storage, wrap the bread tightly and freeze for up to three months. Always cool bread completely before storing to prevent moisture buildup.
Why did my bread turn out dense and heavy?
Dense bread can come from several issues. It might be due to not kneading enough, using old yeast, not rising long enough, or too much flour. Make sure to use fresh yeast, knead well, and give the dough enough time to rise in a warm, draft-free place.
Can I add mix-ins like nuts or seeds to my bread?
Yes, you can add mix-ins for extra flavor and texture. Add nuts, seeds, dried fruits, or herbs during the final mix. But don’t overdo it, as too many additions can affect the dough’s rise. Start small and adjust to taste.
Do I really need special baking equipment to make good bread?
You don’t need special equipment to bake great bread. A good baking sheet, large bowl, and oven can work well. But tools like a baking stone or Dutch oven can help you make artisan-style bread at home.
Did You Try Our Recipe ?
There are no reviews yet. Be the first one to write one.
Source Links
- The King Arthur Baking Company Big Book of Bread | Kitchen Arts & Letters – https://www.kitchenartsandletters.com/products/the-king-arthur-baking-company-big-book-of-bread?srsltid=AfmBOoqQJGLGiGcAomyr3ESYOkgUNu19VBnyiFv9LpXEdKjfUqd_mOJA
- I Tried King Arthur’s 2025 Recipe of the Year—It Delivered Big Time – https://www.yahoo.com/lifestyle/tried-king-arthurs-2025-recipe-135800494.html
- The Easiest Loaf of Bread You’ll Ever Bake – https://www.kingarthurbaking.com/recipes/the-easiest-loaf-of-bread-youll-ever-bake-recipe
- Classic King Arthur Sourdough Bread Recipe – https://chasingoursimple.com/classic-king-arthur-sourdough-bread-recipe/
- The best baking tools … now even better – https://www.kingarthurbaking.com/blog/2024/10/07/baking-tools
- The Best Bread-Making Tools, According to Our Experts and Tests – https://www.seriouseats.com/all-the-tools-you-need-to-make-great-bread-at-home
- The Best Tools to Level Up Your Bread Baking Game – https://www.nytimes.com/wirecutter/reviews/tools-for-making-bread/
- I Tried King Arthur’s 2025 Recipe of the Year—It Delivered Big Time – https://www.simplyrecipes.com/2025-king-arthur-recipe-of-the-year-8762137
- French-Style Country Bread – https://www.kingarthurbaking.com/recipes/french-style-country-bread-recipe
- Beginner’s Sourdough Bread | The Perfect Loaf – https://www.theperfectloaf.com/beginners-sourdough-bread/
- Neapolitan-Style Pizza Crust – https://www.kingarthurbaking.com/recipes/neapolitan-style-pizza-crust-recipe
- FORK & FOLIO: King Arthur Baking’s ‘Big Book of Bread’ is the ultimate bread-baking guide – https://www.berkshireeagle.com/arts_and_culture/food/fork-and-folio-king-arthur-baking-company-big-book-of-bread/article_0fefde7c-7f4e-11ef-bb8f-2b7b59123e1b.html
- Our Favorite Sandwich Bread – https://www.kingarthurbaking.com/recipes/our-favorite-sandwich-bread-recipe
- Good Sourdough Bread (My Master Sourdough Recipe) | Grant Bakes – https://grantbakes.com/good-sourdough-bread/
- Crusty Bread in a Dutch Oven – ZoëBakes – https://zoebakes.com/2025/01/23/crusty-bread/
- The Ultimate Guide to Autolyse Bread Dough | The Perfect Loaf – https://www.theperfectloaf.com/guides/how-to-autolyse/
- Easiest Rustic Bread Recipe EVER | Simple & Delicious! – Shelf Cooking – https://shelfcooking.com/rustic-bread/
- Best Bread Baking 101: The Ultimate Troubleshooting Guide – https://dontwastethecrumbs.com/ultimate-troubleshooting-guide-for-baking-bread/
- For crispy, crackly crusts, put a lid on it – https://www.kingarthurbaking.com/blog/2024/02/27/covered-baker-bread-steaming
- Winter is here. Make these 5 changes to your bread baking. – https://www.kingarthurbaking.com/blog/2024/12/23/winter-is-here-make-these-5-changes-to-your-bread-baking
- How to store sourdough starter – https://www.kingarthurbaking.com/blog/2024/05/16/how-to-store-sourdough-starter
- Boiling water is the secret to softer, stretchier flatbreads – https://www.kingarthurbaking.com/blog/2024/10/14/boiling-water-flatbread
- Beginners Sourdough Bread Recipe – https://afarmgirlskitchen.com/sourdough-bread-recipe/
- Easy Sourdough Irish Soda Bread – Sourdough Brandon – https://sourdoughbrandon.com/sourdough-irish-soda-bread/
- Jason’s Quick Coccodrillo Ciabatta Bread – https://www.thefreshloaf.com/node/2984/jasons-quick-coccodrillo-ciabatta-bread
- Baking with the French Tarte – https://www.frenchtarte.com/news-blog/tag/Jeffrey Hamelman
- My Best Sourdough Recipe | The Perfect Loaf – https://www.theperfectloaf.com/best-sourdough-recipe/
- We Baked King Arthur Baking’s Recipe of the Year (so you don’t have to?) – https://joythebaker.com/2024/02/we-baked-king-arthur-bakings-recipe-of-the-year-so-you-dont-have-to/
- Overnight Sourdough Artisan Bread Recipe – https://thatsourdoughgal.com/overnight-sourdough-artisan-bread-recipe/